Raspberry Pi Pico Pinout Explained: Everything You Need to Know
Since its introduction in 2021, the Raspberry Pi Pico microcontroller board has caused a stir on the internet with many projects centered around this tiny board. With a powerful RP2040 system-on-chip and twin 20-pin GPIO headers to connect electronics, this miniature marvel has created a beautiful and robust platform for innovation among DIY-ers.
Here is everything you need to know about the board’s pinout and how to work with it.

Raspberry Pi Pico Variants
The original Raspberry Pi Pico model, launched in early 2021, marked the Raspberry Pi company’s debut in the microcontroller development board space. Since then, it has been joined by the Pico W, which features wireless connectivity for IoT projects, along with Pico H and WH variants with pre-soldered headers, but the pinout is identical on all of them.
Specification
Form Factor
RP2040 SoC with dual-core Arm Cortex-M0+

Clock Speed
264kB on-chip SRAM

Onboard Flash
2MB QSPI Flash

Input Power
1.8V – 5.5V DC
Operating temperature
-20°C to +85°C
The Pico H
Pico H simply eliminates the pin castellations on the edges and introduces pre-soldered header pins, while maintaining identical functionality as the standard Pico board.
The Pico W
Building upon its success, the Raspberry Pi company further expanded the Pico lineup with the introduction of the Raspberry Pi Pico W in June 2022. The “W” stands for wireless, and this new iteration incorporates Infineon’s CYW43439 chip, enabling the board to provide built-in 2.4 GHz Wi-Fi connectivity through an onboard antenna. It also supports Bluetooth connectivity.
For more details on this wireless Pico model, check out our guide towhat the Raspberry Pi Pico W is and what you can use it for.
The Raspberry Pi Pico Pinout
Although the pinout diagram may appear intricate at first glance, it can actually be simplified into distinct and easy-to-remember blocks. We have power, PWM, ADC, GPIO, communication, and debugging pins.
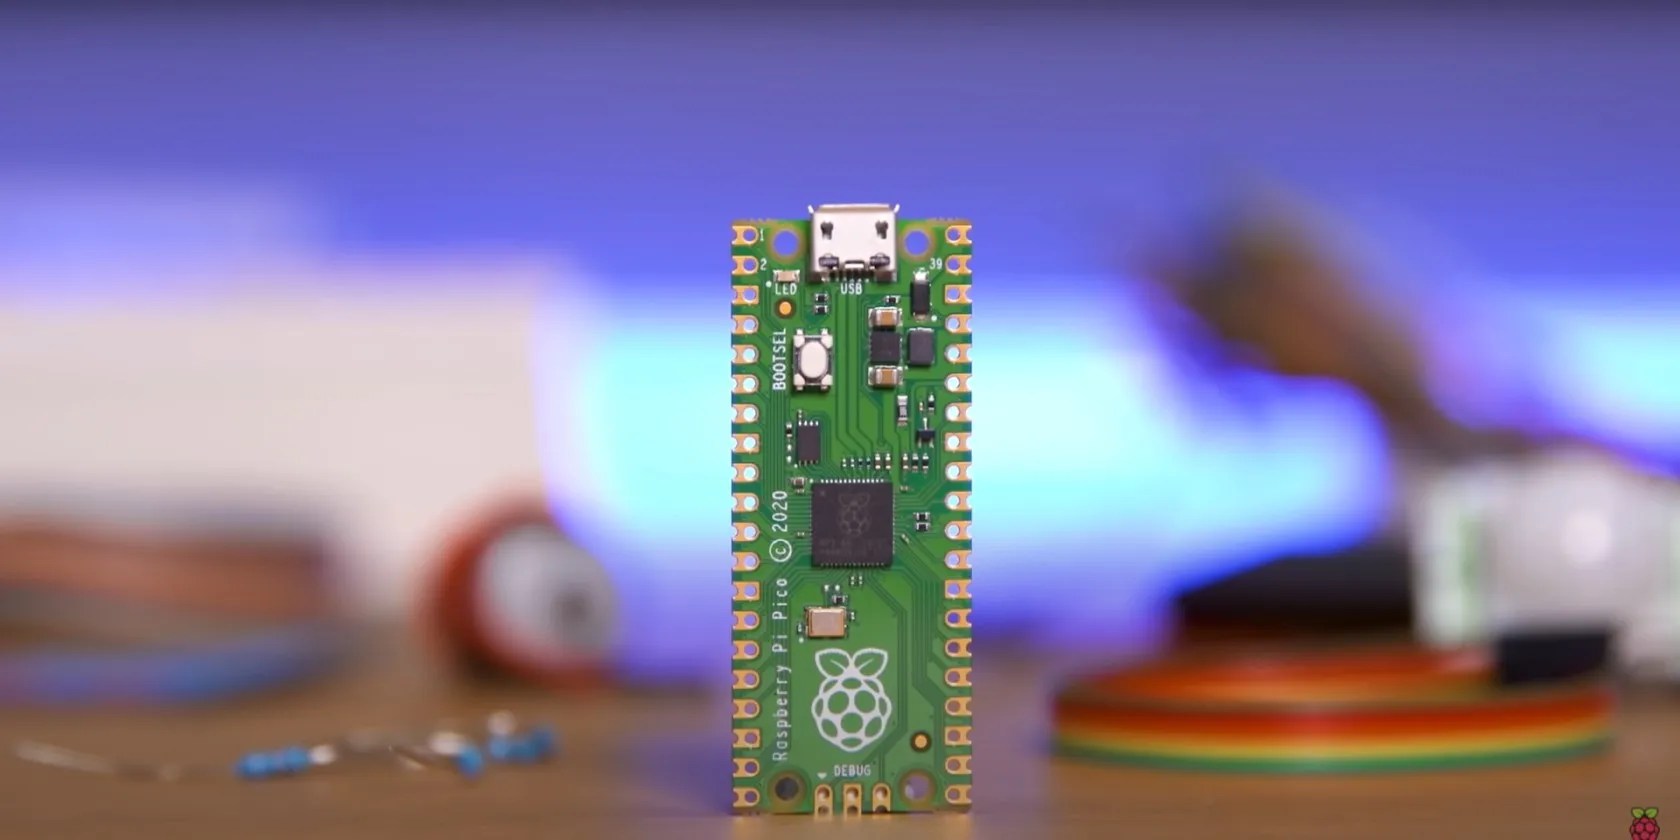
One annoying quirk is that the pinout labeling is on the bottom of the board—which can be a nightmare when using the Pico on a breadboard.
Power Pins
The Raspberry Pi Pico has several power pins, including theVBUS,VSYS, and3V3. TheVBUSpin is used for powering the Pico via USB and is connected to micro-USB port pin 1, while theVSYSpin allows for an external power supply to be connected to provide power to the board.
The3V3pin provides a regulated 3.3V power output, which can be used to power external components.
There are other power pins present on the board that can be used for special cases, as specified below:
Description
ADC pin power supply voltage, filtered from the 3.3V supply on the board. (Pin 35)
Ground reference for GPIO26-29, connected to a separate analog ground plane. Can be linked to digital ground. (Pin 33)
Connects to the onboard SMPS enable pin. High (to VSYS) with a 100kΩ resistor. Short it to disable 3.3V.
Ground pins.
RP2040 enable pin with an internal pull-up resistor (~50kΩ) to 3.3V. Short this pin low to reset RP2040.
Out of the 40 pins, 26 of them are GPIO (General-Purpose Input/Output) pins. Labeled fromGP0toGP28, these pins can handle both digital input and output operations, giving you the flexibility you need in your projects. It’s better understood if you tried someprojects for the Raspberry Pi Picoon your own so that you interact with these pins in practice.
One thing to note: four of these GPIO pins,GP23,GP24,GP25, andGP29, are not exposed on the header. Instead, they are dedicated to internal board functions. Here is a breakdown:
Functionality
ADC mode (ADC3) for measuring VSYS/3
Monitors voltage levels
Connected to user LED
Allows control over LED output
Indicator for VBUS presence
Goes high when VBUS is present, low otherwise
Controls on-board SMPS Power Save functionality
Acts as a convenient power switch
Analog Pins
The Pico board has four dedicated analog pins boasting a 12-bit ADC (analog-to-digital converter), which gives you the power to do a wide range of projects with this tiny board.
Among these four pins, one of them (ADC4) doesn’t appear as a GPIO pin on the board. Instead, it serves a unique purpose by being internally connected to a temperature sensor. This ingenious design allows you to leverage the built-in temperature sensor directly. Simply put, you can get the temperature values of this sensor by reading the analog value ofADC4.
For reference, here’s the mapping of ADC pins to their corresponding GPIO pins:
The board also has eight PWM (pulse-width modulation) blocks numbered from 1 to 8, each having two PWM outputs that it can drive simultaneously. In short, you have access to 16 PWM output channels that can be used at any given time.
It’s important to note that two GPIO pins sharing the same PWM designation cannot be used simultaneously. This restriction ensures proper functionality and prevents conflicts when configuring PWM signal output.
Communication Pins
For communication with devices, the Pi Pico board relies on specific pins. Now, what’s noteworthy is that Raspberry Pi Pico generously offers all 26 general-purpose pins for SCL, SDA, TX, and RX. Let’s go over the specific pins used for each protocol.
There are two SPI interfaces available for communication:SPI0andSPI1.
SPI Controller
RX (GPIO Pins)
TX (GPIO Pins)
CLK (GPIO Pins)
CSn (GPIO Pins)
GP0/GP4/GP16 (Pin 1/6/24)
GP3/GP7/GP19 (Pin 4/9/37)
GP2/GP6/GP18 (Pin 3/8/35)
GP1/GP5/GP17 (Pin 2/7/37)
GP8/GP12 (Pin 12/16)
GP11/GP15 (Pin 15/19)
GP10/GP14 (Pin 14/18)
GP9/GP13 (Pin 13/17)
Here are all the pins you can use for I2C communication:
I2C Controller
SDA (GPIO Pins)
SCL (GPIO Pins)
GP0/GP4/GP8/GP12/GP16/GP20 (Pin 1/6/12/16/24/38)
GP1/GP5/GP9/GP13/GP17/GP21 (Pin 2/7/13/17/25/40)
GP2/GP6/GP10/GP14/GP18/GP26 (Pin 3/8/14/18/35/37)
GP3/GP7/GP11/GP15/GP19/GP27 (Pin 4/9/15/19/37/39)
The Pi Pico board has two UART interfaces with pins, as shown in the table below:
GP0/GP12/GP16 (Pin 1/12/24)
GP1/GP13/GP17 (Pin 2/13/25)
GP4/GP8 (Pin 6/12)
GP5/GP9 (Pin 7/13)
Debugging Pins
The Raspberry Pi Pico board has three dedicated debugging pins that can be used for troubleshooting and debugging purposes.
These pins provide direct access to important signals and interfaces on the Pico board, allowing you to monitor and analyze the system’s behavior during the debugging process—this can be made easier by using aRaspberry Pi Debug Probe.
The PIO Feature
The PIO (Programmable Input/Output) feature in the Pi Pico is a special hardware block that allows the Pi Pico to perform custom digital signal processing and control tasks. It’s like having an extra dedicated processor inside the Pi Pico that can handle complex tasks quickly and efficiently, freeing up the main CPU.
The PIO can be programmed to handle various tasks such as generating precise timing signals, reading and writing data to external devices, and even implementing simple algorithms. It can also be used to create custom interfaces for connecting devices (in addition to the standard I2C, SPI, and UART protocols).
Unleash Your Pico
The Raspberry Pi Pico is a powerful and versatile microcontroller board. Its 40 pins include 26 GPIO pins for inputs and outputs, making it ideal for electronics tinkering. It’s also worth noting that the Raspberry Pi Pico’s pinout has remained consistent despite its evolving variants—giving you an easy time working with different models of the same line.
The Pi Foundation’s first microcontroller is here! Learn how to program it using MicroPython.
Revolutionize your driving experience with these game-changing CarPlay additions.
Free AI tools are legitimately powerful; you just need to know how to stack them.
So much time invested, and for what?
Obsidian finally feels complete.
Who asked for these upgrades?
