Make Your Own Raspberry Pi Email Server
Everyone has an email address—they’re essential to function in the interconnected world of the mid 21st century. Most people have their email addresses either through their employer or through one of the tech giants such as Google or Microsoft. But you can run your own email server with your own domain name from a simple computer such as a Raspberry Pi.
Why Run an Email Server on Your Raspberry Pi?
Emails are the modern equivalent of a letter—they’re private communications, but by using a free provider such as Gmail, you’re giving a predatory advertising and tracking company license to rifle through your life, your appointments, personal contacts, travel plans, and reservations. Google sells these intrusions as features, but to some, it’s an uncomfortable level of snooping.
By running your own email server, your data is in your own hands and on your own hardware, with no oversight from shadowy corporate entities. And if you really need to lose an email in a hurry, you can always just swallow the microSD card (don’t actually do this).

A Raspberry Pi is perfect for this project due to its low power draw—an email server will need to be powered on 24/7, so anything more powerful is money wasted. Email as a technology has been around since the 1970s and could be used on the computers of the time. Anything more powerful than a Raspberry Pi is overkill.
Is It Difficult to Create a Raspberry Pi Email Server?
Configuring an email server from scratch can be complicated: it involves installing and configuring multiple components, including Postfix, Dovecot, openDKIM, SpamAssassin, and Sieve. It will take up a significant amount of your day, and is a process fraught with peril, and one in which it is easy to make mistakes.
Fortunately, there are scripts which can make it easy to install an email server on your Raspberry Pi, which means that you can have your email server up and running in under an hour!
![]()
What You Will Need for Your Email Server
To complete this project, you will need:
Setting Records and Opening Ports
Navigate to theAdvanced DNSsection of your registrar and delete any records already in existence. ClickAdd New Record. For the type, selectA record, for the host, set@, and in the value field, set your public IP address. Save, and then clickAdd New Recordagain.
In this record, for the type, selectA record; for the host, set*; and in the value field, set your public IP address. Finally, add a newMXrecord, with@as the host,mail.your-domain.tldas the value, and set the priority to10. Save the new DNS records.

Open up your router admin menu. This is usually done by typing192.168.1.1into a browser. If this doesn’t work for you, consult your router manual. Locate a section titled eitherPort Forwarding,Port Mapping, orPort Management, then create four new entries:
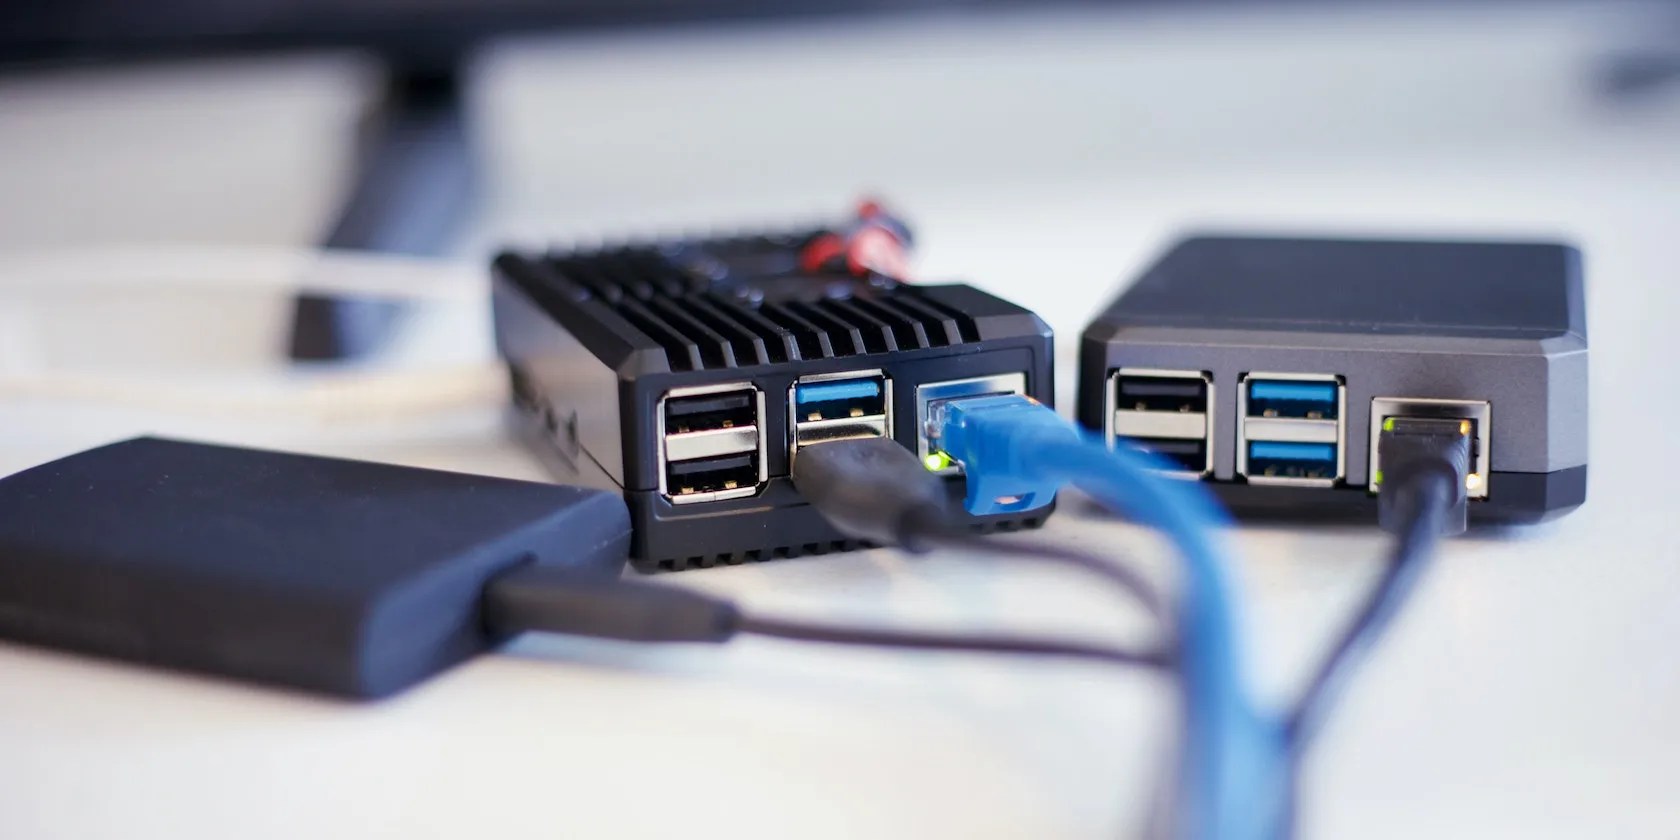
Prepare Your Pi!
Afterinstalling a Debian-based operating system on your Raspberry Pi(Raspberry Pi OS will do just fine), connect it to your router with an Ethernet cable.
Install the Email Server Software
Follow these steps to install the email software.
Connect to Your Email Server With a Client on Mobile or Desktop
Your email server is fully functional and ready to go. It’s protected against intruders and any user account on your Pi can use it. It’s time to connect to it with an email client—although at this point, any emails sent are likely to land in the recipient’s spam box. We’re using Thunderbird email for this, although the procedure will be similar for any mobile or desktop email client.
In your email client, click onAdd Account, and you will be invited toSet Up Your Existing Email Address. Enter your name, your email address, and your password. Your email address is your username on the Pi plus the domain name; e.g., david@improbable.guru. Your password will be the password your user employs to log into the Pi.

Instead of clicking theContinuebutton, instead click on theConfigure manuallylink. You will need to fill in details for both the incoming and outgoing server. For these, the hostname or server name ismail.your-domain-name.tld, the login name is your full email address, and the password is… your password. Set the IMAP port to143and the SMTP port to587. Connection security should be set toSTARTTLSand the authentication method tonormal password.
You Can Now Send and Receive Email Through Your Raspberry Pi Email Server!
Running your own email service means that you don’t need to rely on anybody else. You are completely self-sufficient and out from the purview of tech giants. Even so, if you use your email server for evil purposes—such as bulk emails or spam, you will find yourself blacklisted by other providers. So be careful.
Crafting emails can take a lot of time and effort. So why bother when you can use one of these amazing pre-made templates instead?
You’re conveying the wrong meaning when you send these emojis.
Your phone’s camera app doesn’t show this, so it’s easy to miss.
I gripped my chair the entire time—and then kept thinking about it when the screen turned off.
You don’t need to fork out for expensive hardware to run an AI on your PC.
Windows is great, but adding this makes it unstoppable.
