How to Create a Scene Using Props in Magic Poser
Have you ever wanted to create your own 3D modeling scene but felt intimidated by all the grunt work that comes with starting from scratch? Well, with Magic Poser, the hard part is already done; you just have to decide on a scene, add the props, and customize them to your liking. How? Keep reading and we’ll tell you.
What Are Props in Magic Poser?
Props inMagic Poserare objects and environments that can be added to the scene to complement the models and make the scene appear more realistic.
In this tutorial, we are using theiOS version of Magic Poserwith a Master subscription. Please note that Free, Pro, and Master include different content, but all basic functions are available for the Free version.

Types of Props
There are eleven prop subsections for you to choose from. They include:
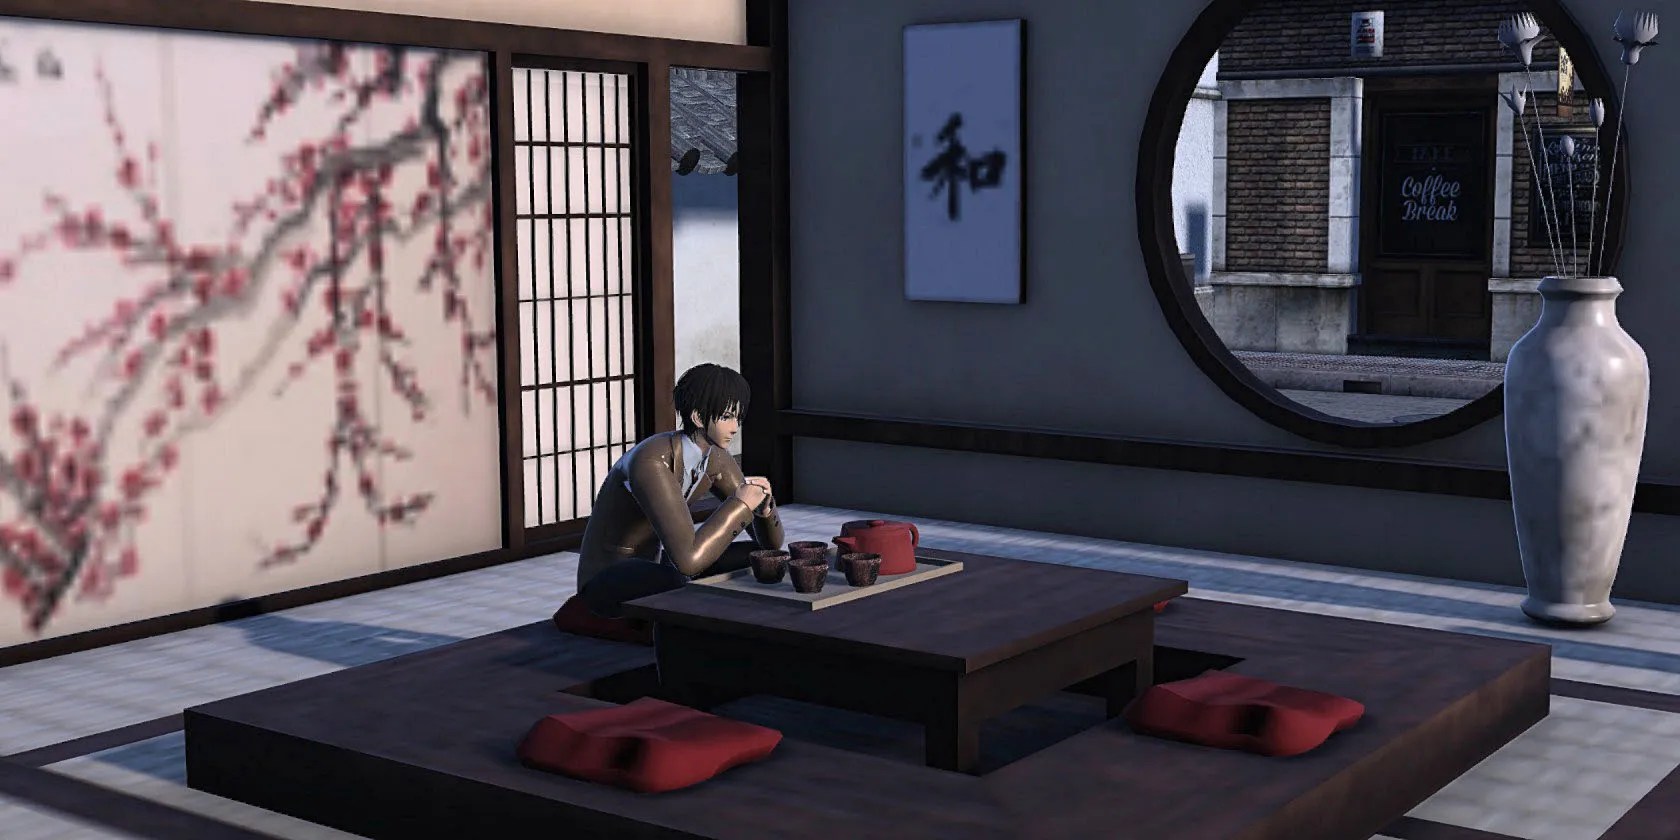
Geometry is a section with basic shapes, such as rectangles and cylinders. This is great if you want to get creative and design your own props. For example, take a look at the image below wherewallis used for the walls and ground of the room, but other more advanced props are added to complement the scene.

If you’re someone who enjoys the beginning phases of creation, then have a look at ourbeginner’s guide to starting 3D modeling.
How to Add Props to a Scene
Adding props to a scene is easy. All you have to do is follow these steps:
The prop will be added to the scene in the center of the grid where you can now reposition it and customize it.
![]()
Rescaling Your Props
Props can be scaled down and up so that they are proportionate to the other props and models in the scene.
To rescale your props, you have to follow these steps:

Colorizing Your Props
Props can also be colorized. However, while the color of some objects can be modified entirely, others will only change in hue or brightness.
The original color, the texture of the object, and the highlights and shadows determine to what extent an object can be colorized. For example, the teapot and tray easily change color, but only the highlights in the teacups change.
To colorize your props:
Repositioning Your Props
Every new prop that you add is automatically added at the center of the grid, so you will need to reposition it along the XYZ axis. To do this:
Once you’ve completed these steps, you’re finished with adding props. But if you have any models in the scene, or if you want to add a model, yet you’re unsure of how to position them, then check out thedifferent ways you can pose a model in Magic Poser.
Make a Scene
Using props in Magic Poser is essential because they provide the framework; they elevate the atmosphere and convey intent, which could easily be lost otherwise. So don’t hold back on the details, put in that extra effort and make a scene with your props.
Magic Poser is the perfect app for getting started with 3D scenes. Here’s everything you need to know to about this pose tool.
When your rival has to bail out your assistant.
The fix was buried in one tiny toggle.
You don’t need to fork out for expensive hardware to run an AI on your PC.
Freeing up vital memory on Windows only takes a moment, and your computer will feel much faster once you’re done.
Revolutionize your driving experience with these game-changing CarPlay additions.
